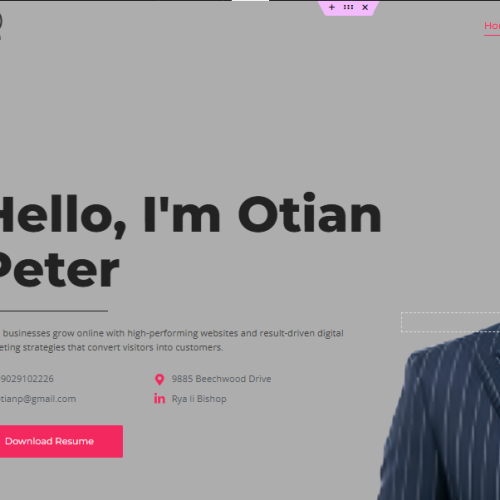
Welcome to the ultimate guide on building your digital identity! In today’s hyper-connected world, a resume or a standard social media profile simply does not cut it anymore. To truly stand out to employers, clients, or a loyal audience, you need a centralized digital home. You need a platform where you control the narrative, showcase your expertise, and build meaningful relationships. That is where a personalized website comes in.
Why Choose Elementor for Your Personal Brand? WordPress powers over forty percent of the internet, and for good reason. It is flexible, scalable, and entirely yours. However, traditional WordPress development can be intimidating for beginners. Enter Elementor. Elementor is a revolutionary drag-and-drop page builder plugin for WordPress that has completely transformed web design. It allows you to build custom, complex layouts visually, meaning you see exactly what your visitors will see as you build it.
If you have been wondering how to create an impressive online portfolio without needing a degree in computer science or knowing how to write a single line of code, you are in the perfect place. In this comprehensive elementor personal brand website tutorial, we will walk you through everything you need to know.
Pre-Requisites Before We Begin Before we jump into the core of this elementor personal brand website tutorial, you need to lay down the foundational infrastructure for your site. You cannot build a house without land, and you cannot build a website without hosting and a domain name. I want to assume you already have a domain and hosting and you have your wordpress installed. If you have not done that please click this link to learn that here.
How to Log In to Your WordPress Website
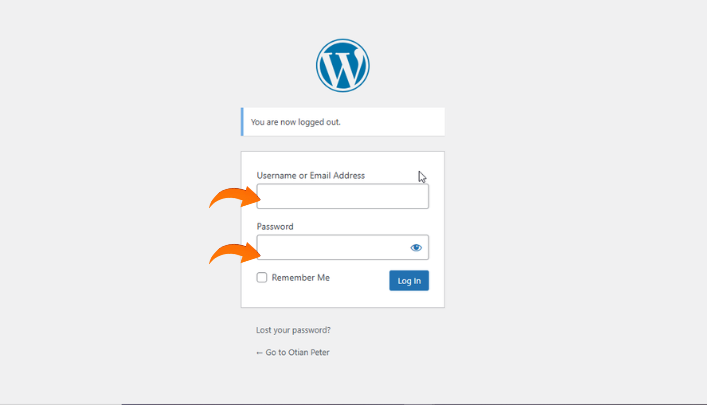
To log into your website, you need to first install WordPress, so I want to assume you have installed WordPress. If you have not, follow this link to learn how. To log into your WordPress site, follow these steps:
STEP 1. Put your domain name on your browser url bar at the top.
STEP 2: Add “/wp-admin” and then click enter; make sure there are no spaces in the URL and all needs to be in lower case. here is an example: otianpeter.name.ng/wp-admin
STEP 3:Enter your username and password in the required fields. If you can’t remember your username, you can use your email address instead. Then click the login button.
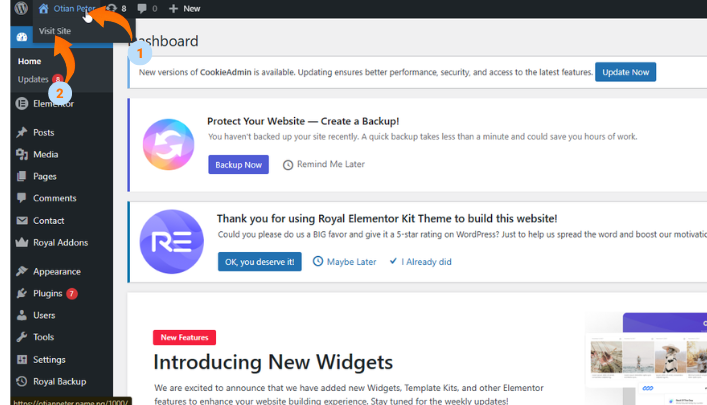
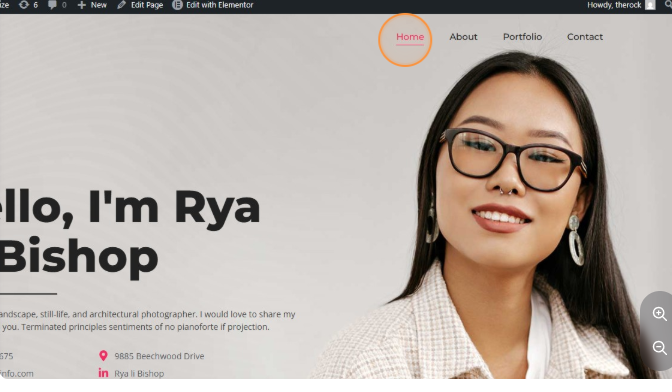
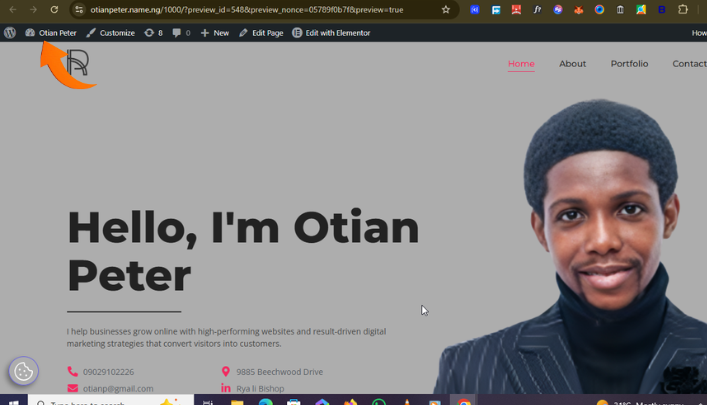
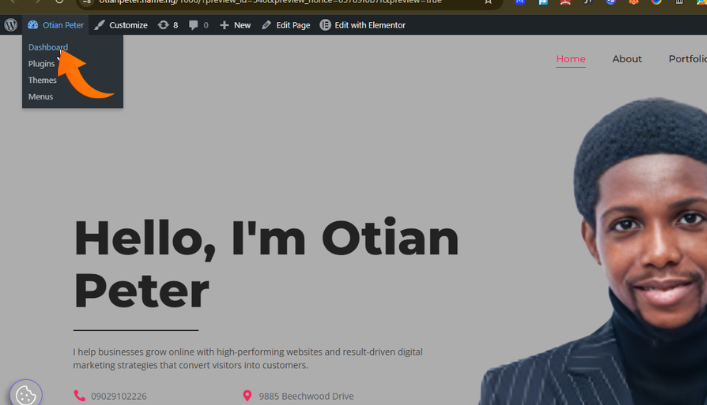
Once you’re logged in, hover over your site title at the top left. You’ll see the “Visit Site” option appear—click it to go to the front page.
How to Open Elementor the Page Builder
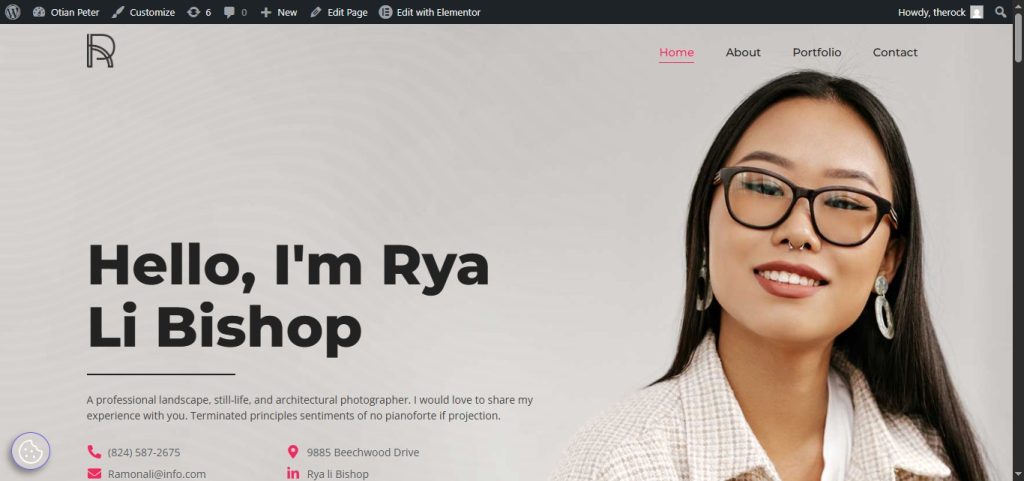
In this case, we’ll be editing the page of the portfolio website we created earlier. There are two ways to do this:
First, you can go to the Pages section on your WordPress dashboard (make sure it’s the specific page you want to edit or build with Elementor). Click on “All Pages,” then select the page you want and click “Edit with Elementor.”
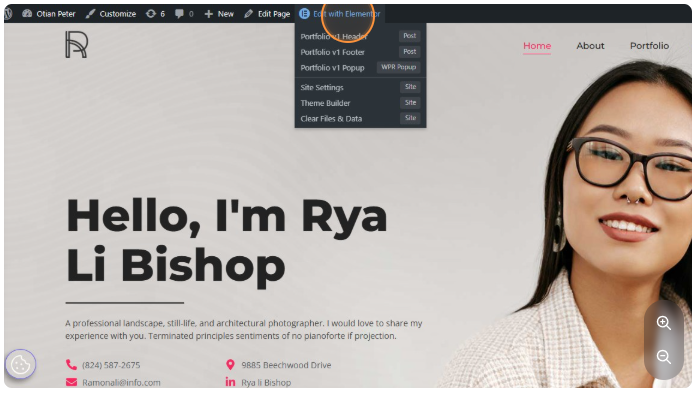
Alternatively, you can go to the front end of your website, navigate to the page you want to work on through the menu, and click on the “Edit with Elementor” option. Make sure you click directly on the “Edit with Elementor” text, not the dropdown.
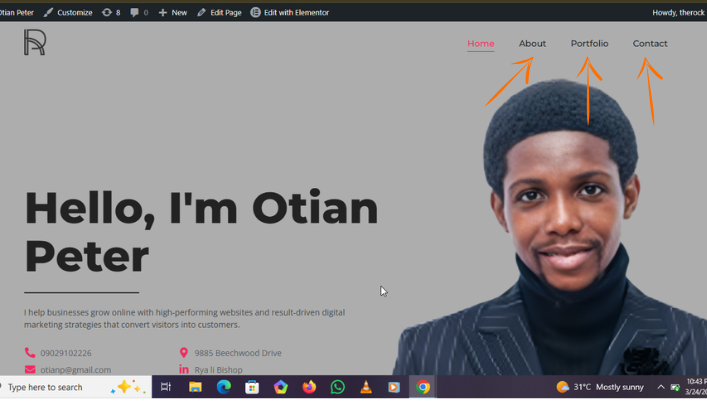
STEP 1: Click the “home” writing on the header menus
STEP 2: Click the “home” writing on the header menus, then select “Edit with Elementor.” (Note that you click the write-up, not the drop-down).
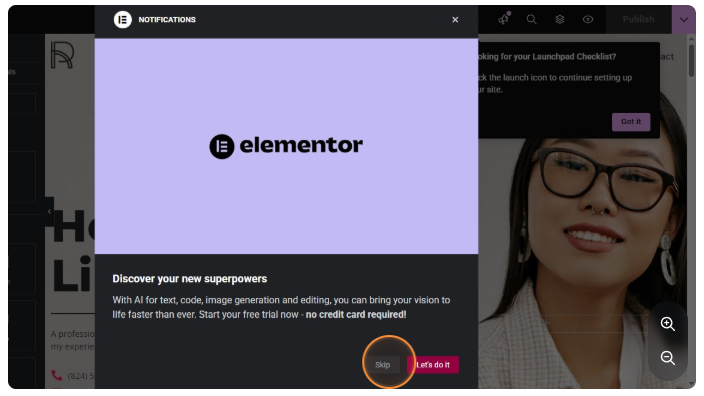
STEP 3: At this point the Elementor page builder is open. Click “skip” to escape the popup from the screen (Note: this popup comes only when you are opening Elementor on that page for the first time).
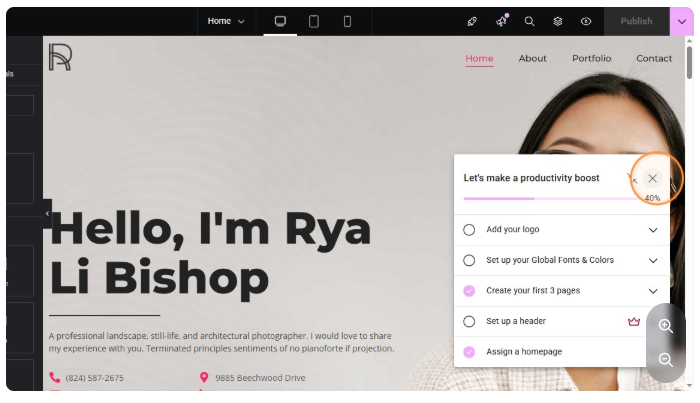
STEP 4: Remove any other pop-up on your screen
Knowing The Basics of Elementor Interface
You don’t need to know every single part of the interface before you can start using it; for beginners, it might be information overload, looking at the fact that some part of the interface might not be important to some projects, so we are going to skip some jargon and head to the important part that will get you started.
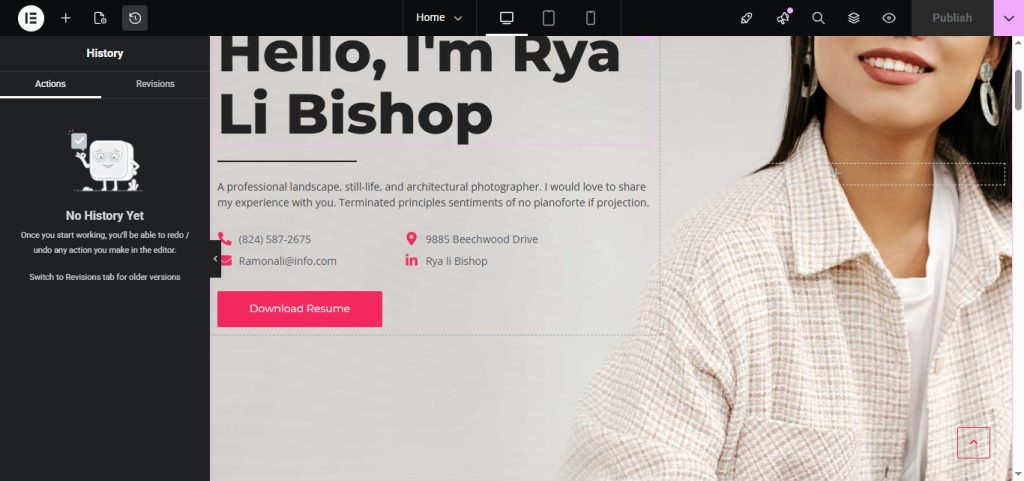
History Button – Undo and Redo
The history button is important. When you make a mistake, you can always go there to track and undo all your previous mistakes. So Elementor is forgiven. when you make mistakes.

In the history button section you can see the “Actions” and “Review” tabs. These two tabs play significant roles. Action tabs help you keep track of all your actions; with this, it is easier to undo actions by clicking on your previous action to undo, while revision takes track of all your saved sessions if, by chance, you logged in, saved, and logged out. Review tabs take care of all your sessions in case you want to restore a design based on the previous section. Note if you are logged out when you log in, the Action tab goes empty. Action tabs track actions per session.
Responsiveness
Responsiveness speaks of how a website looks across devices: mobile phones, tablets, and computers. Elementor gives you the features to preview your website in these 3 views during designing.
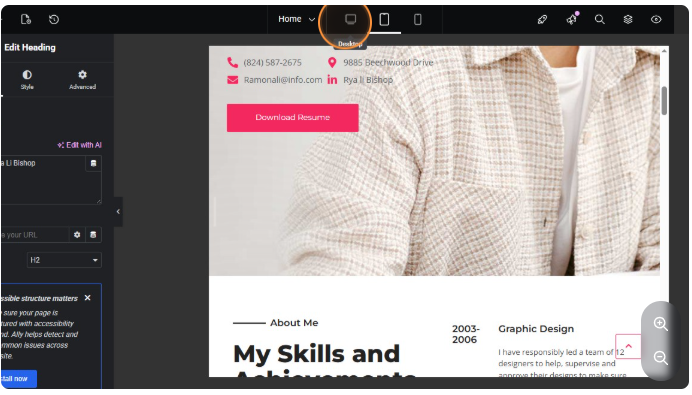
Desktop View
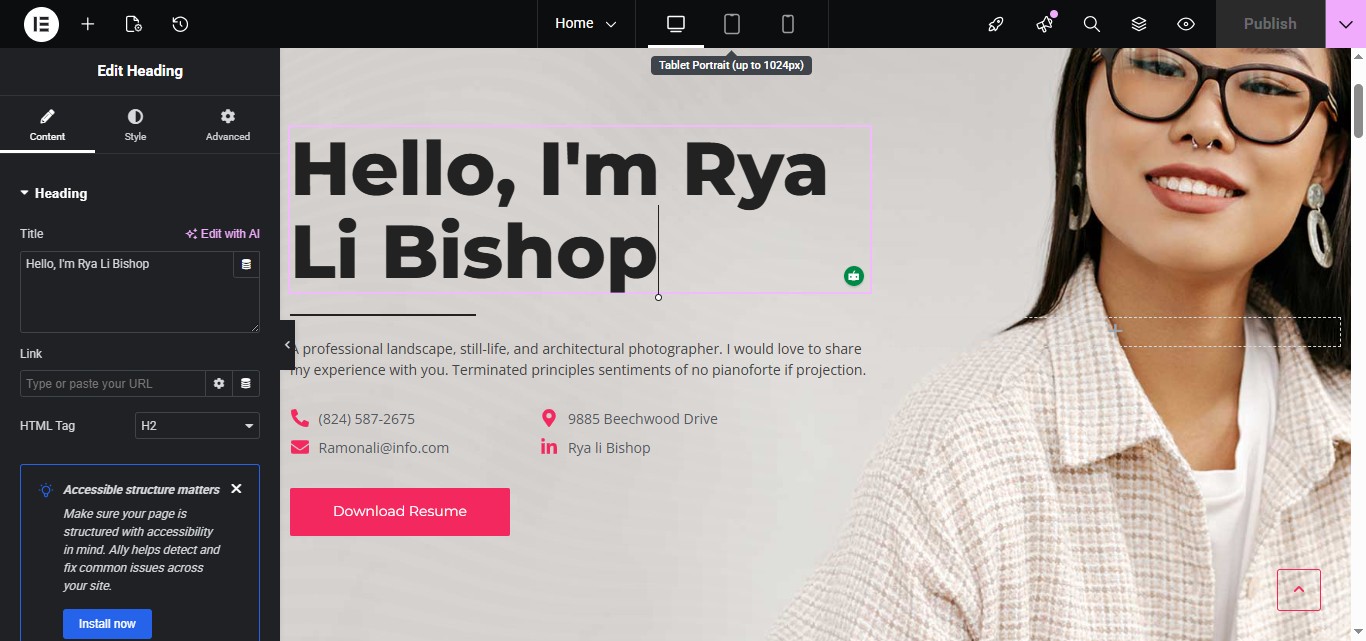
Tablet View
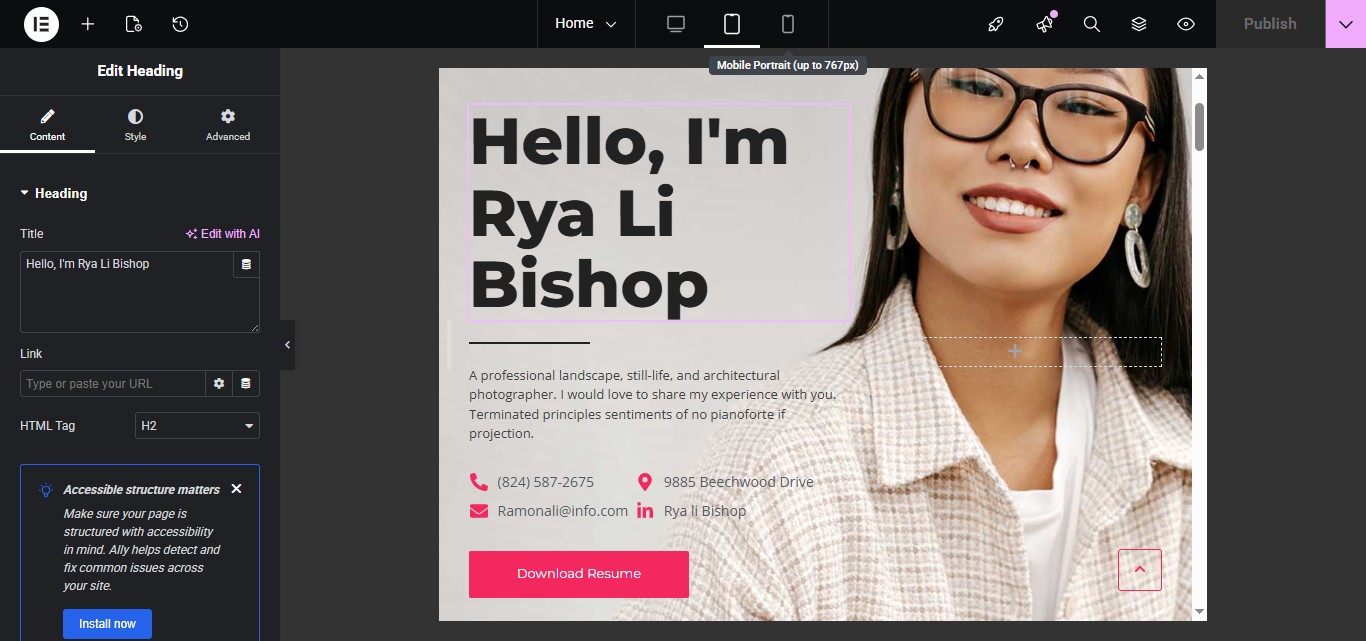
Mobile View

How To Edit Template With Elementor
Know that the entirety of a website is made up of blocks and containers; to edit any part you need to interact with the particular container. The right interface is for display, and the left black panel is used to edit and design.
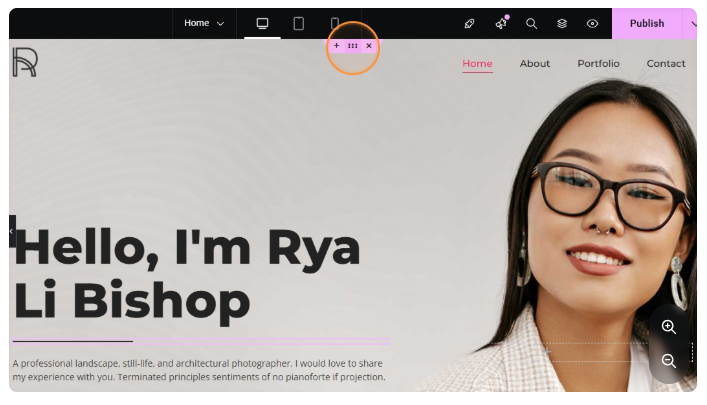
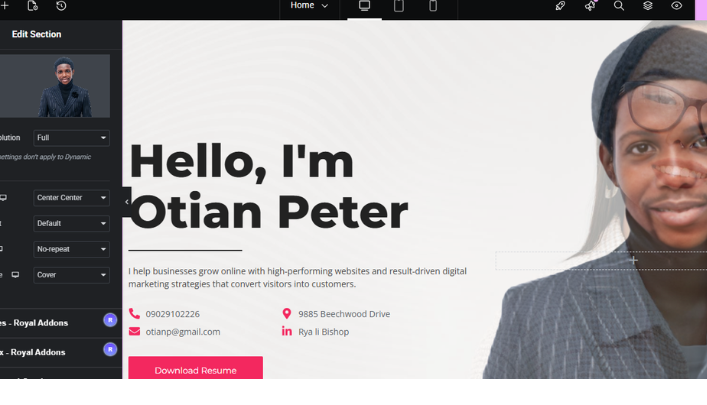
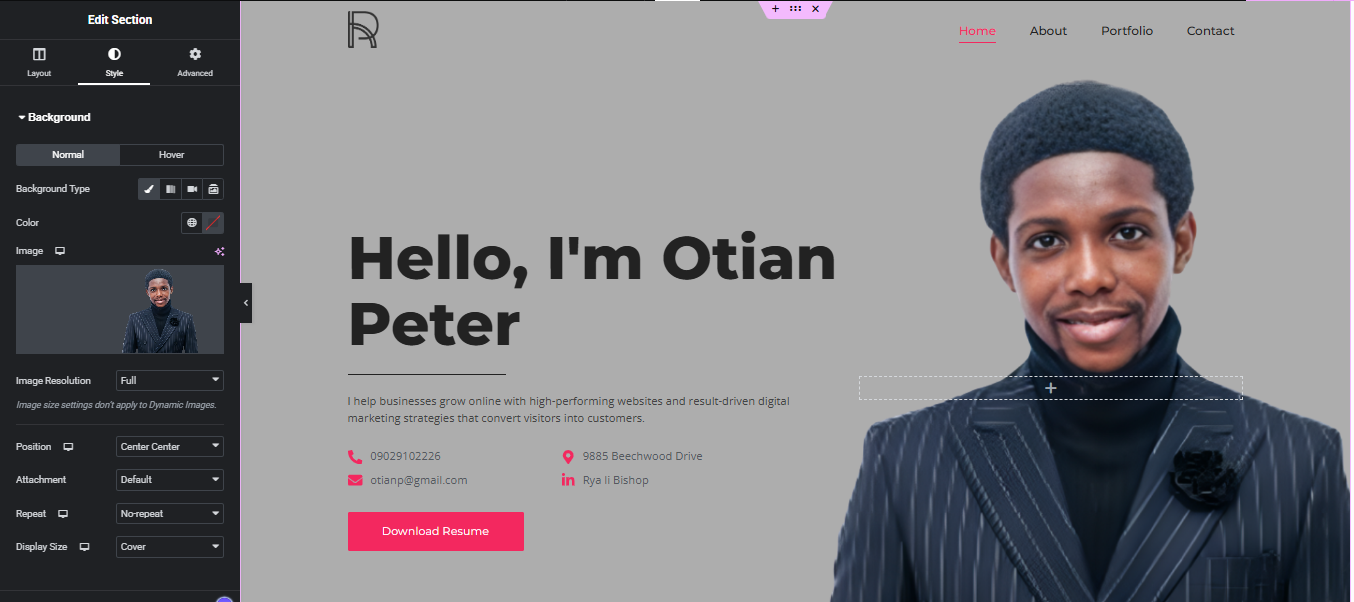
Below is a container or section (depending on the version of Elementor you are using). The container is used to edit the entire background. In this case, to change the image you need to edit this container around the section you would see, the pink outline, to show you the area affected. The “+” button there is to add another container like itself; the “six dots icon” there is where you click to edit the container, and the “x” icon is to delete the entire container.
Now let’s edit the container
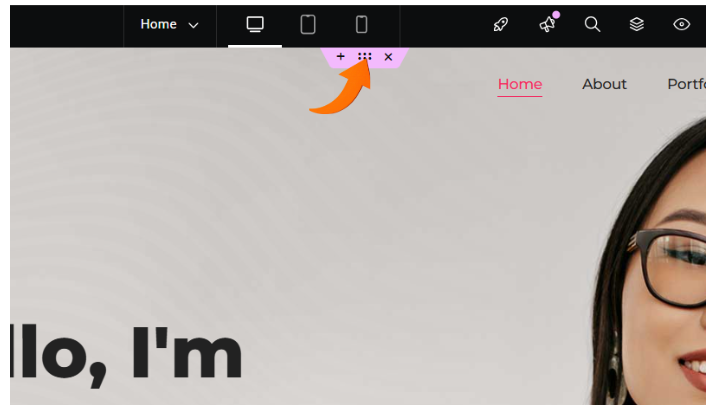
From observation and interaction, you can see that the header image of the lady is embedded in the background while the text is in the foreground, so it is typical to check the section or container to change header images. So we will interact with the section by clicking the six dots.
STEP 1: Click on the 6 dots located in the container.
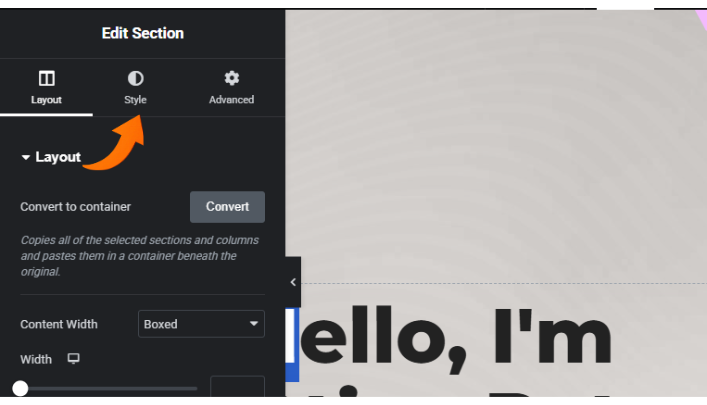
STEP 2: Go to the left dashboard or panel and select the “Style” tab.
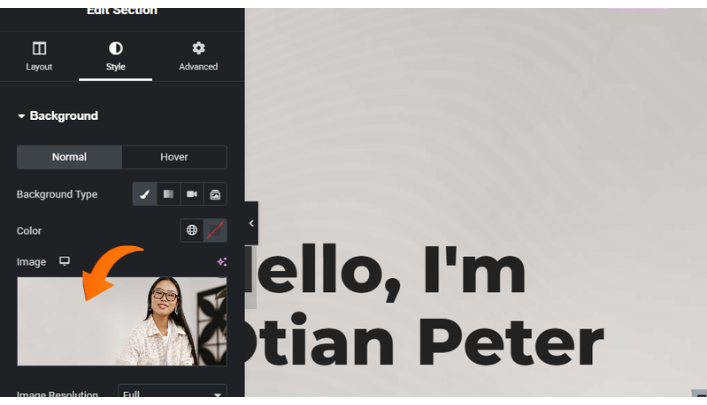
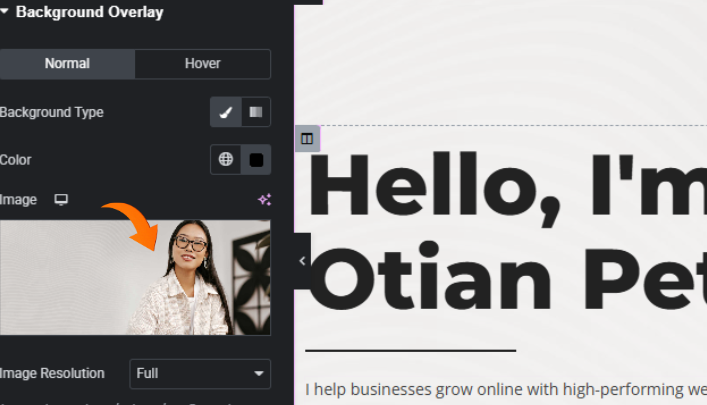
STEP 3: The background dropdown is already open so you can see the picture you want to change. Click on the image.
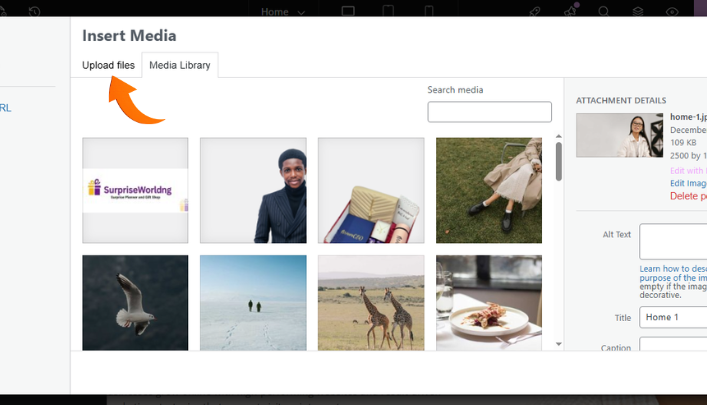
STEP 4: The upload tab is where you upload files, while the media library is where all uploaded media are kept and displayed. Select the Upload files tab to upload the files.
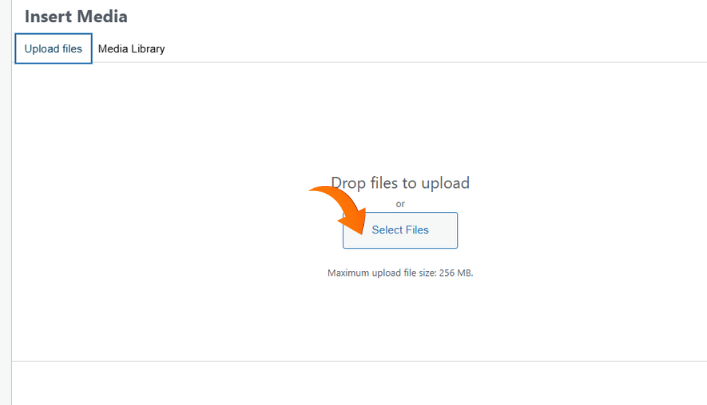
STEP 5: Click to select files from your device. Please note that the image dimension should be similar to that which you are replacing. You can also drag and drop. If the image is in landscape, yours should be in landscape too so it fits well. (If you know how to use
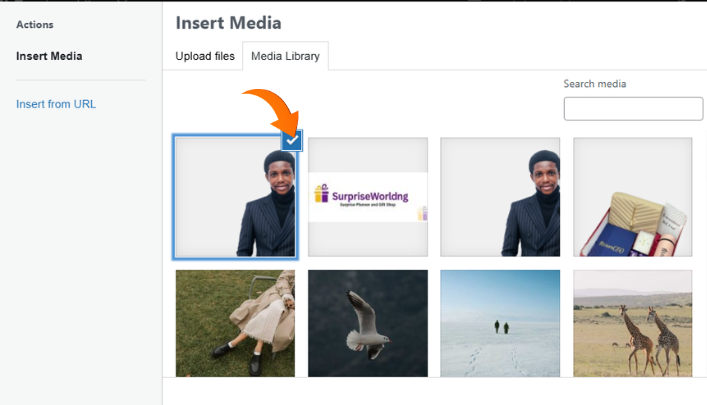
STEP 6: After uploading, wait till it loads successfully. Make sure the blue check icon is on the image you want to use. If not, click on the image till it’s selected (displaying the check icon).
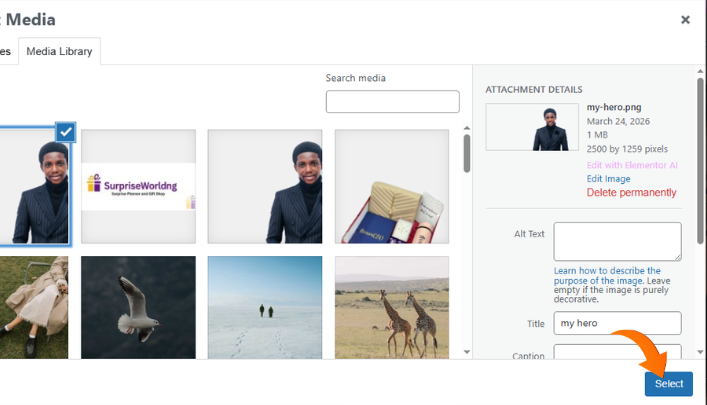
STEP 7: Click the “Select” button.
STEP 8: This is what it looks like. You can see that this template has another image overlay; however, this is not typical. Most templates don’t use this kind of overlay. To fix this, head to the overlay dropdown on your dashboard or panel.
STEP 9: Under same section, under the style section, scroll down to the background overlay.
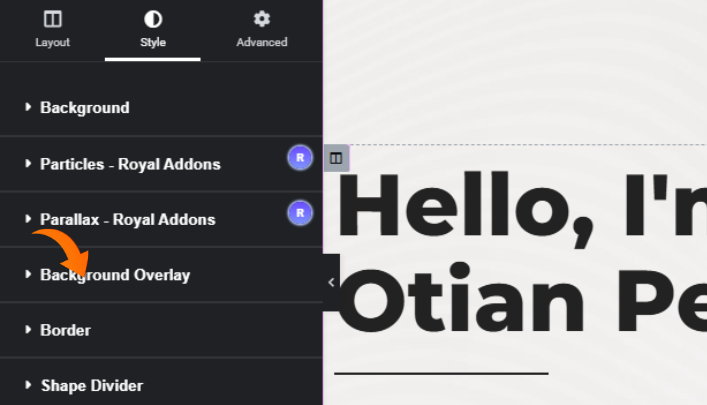
STEP 9: Under the same section, under the style section, scroll down to the background overlay.
STEP 10: Under the same section, under the style section, scroll down to the background overlay. Select image to change the image.
STEP 11: As you can see, this fixes the overlay issue.
How to edit the widgets
Widgets are elements on our Elementor canvas that are indicated with the pencil icon when you hover on them; an example can be seen below.
Types of Widget
When building websites with Elementor, you don’t need every widget—just the most important ones that handle layout, content, and conversions.
Below are few most widely used Elementor widgets and what they do:
1. Heading Widget
The Heading widget is used to add titles (H1–H6) to your page.
It’s essential for:
- Structuring your content
- Improving SEO
- Making pages easy to read
Example: Page titles, section headings like “Our Services”
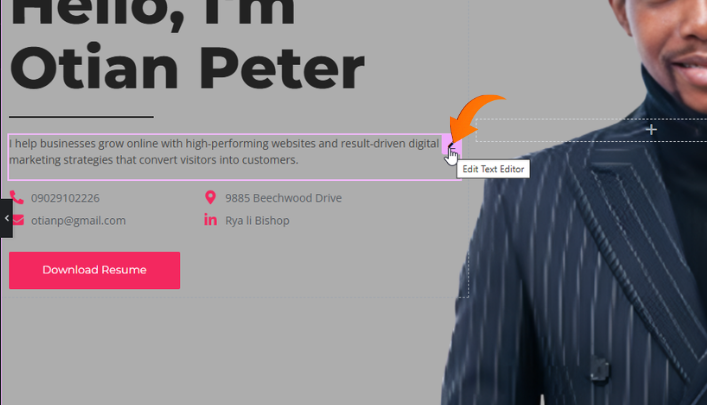
2. Text Editor Widget
This is where you add paragraphs and written content, similar to the WordPress editor.
It allows:
- Bold, italic, lists
- Links and formatting
- Basic HTML editing
Example: Blog content, service descriptions
3. Image Widget
Used to display images on your website.
You can:
- Resize and align images
- Add captions
- Link images to pages
Example: Product images, banners, team photos
4. Button Widget
One of the most important widgets for conversions.
It helps you create clickable buttons like:
- “Buy Now”
- “Contact Us”
- “Get Started”
You can link buttons to pages, WhatsApp, or external URLs.
5. Image Box Widget
A combination of:
- Image
- Heading
- Description
Perfect for:
- Service sections
- Feature highlights
- Team profiles
6. Icon Box Widget
Similar to Image Box, but uses icons instead of images.
Best for:
- Listing features
- Benefits or services
- Quick highlights
Example: “Fast Delivery”, “24/7 Support”
7. Divider Widget
Adds a horizontal line to separate sections.
Helps improve:
- Readability
- Page structure
- Visual spacing
8. Spacer Widget
Creates space between elements.
Useful for:
- Adjusting layout
- Preventing clutter
- Improving design balance
9. Icon Widget
Allows you to add single icons from Elementor’s library.
Great for:
- Decoration
- Highlighting features
- Adding visual cues
10. Image Carousel
Displays multiple images in a sliding format.
Perfect for:
- Portfolios
- Product showcases
- Galleries
11. Testimonials Widget
Used to display customer reviews.
Builds:
- Trust
- Credibility
- Social proof
12. Tabs Widget
Organizes content into tabs.
Useful when:
- You have lots of information
- You want to save space
13. Accordion Widget
Creates collapsible sections.
Commonly used for:
- FAQs
- Detailed explanations
14. Video Widget
Embed videos from platforms like YouTube.
Great for:
- Tutorials
- Product demos
- Marketing videos
15. Google Maps Widget
Displays location using Google Maps.
Ideal for:
- Business locations
- Contact pages
16. Social Icons Widget
Adds links to your social media profiles.
Helps users connect with your brand on:
17. Form Widget
One of the most powerful widgets in Elementor Pro.
You can create:
- Contact forms
- Lead generation forms
- Booking forms
18. Posts Widget
Displays blog posts dynamically.
Useful for:
- Blog pages
- News sections
- Content marketing
If you master just these, you can design 90% of websites using Elementor without stress. Now lets go back to the tutorial.
How to Edit Any Widget
Editing a widget depends on the particular template and the widget used. If we are to edit the h1 text on the hero section ( A hero section is the top section of a webpage, usually large and visually prominent, designed to immediately capture attention, communicate the main message, and guide visitors to take action). To edit the text we need to click on the pencil icon, then the left panel opens up it self for you to edit.
Steps: 1. Click on the pencil icon 2. Make sure you select the first tab(Content) 3.Edit the text.
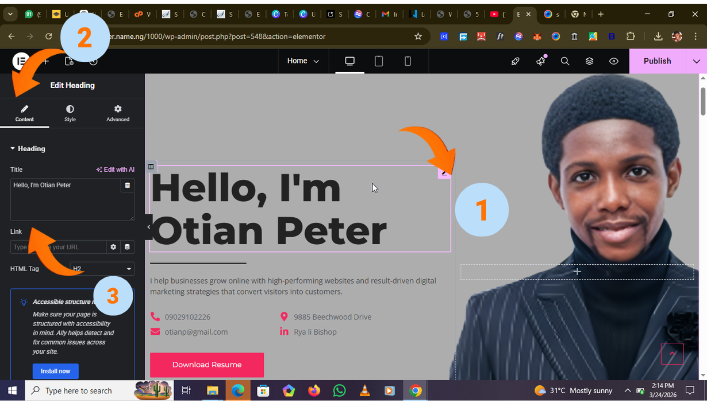
Steps: 1. Click on the pencil icon 2. Make sure you select the first tab(Content) 3. Edit the text.
This Method is universal. Every widget is controlled by its own “pencil”. Apply same on all widgets especially the ones with text.
Edit Post Grid/Slider/Carousel
How to change image displayed in “Edit Post Grid/Slider/Carousel”
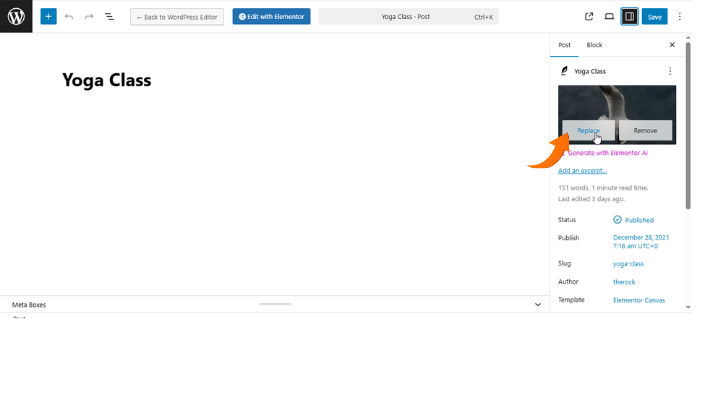
The reason this widget is addressed here is because some elements it displays are pulled from parts of the website that cannot be edited directly within Elementor. For example, the images shown here can only be updated from the Posts section in your WordPress dashboard.
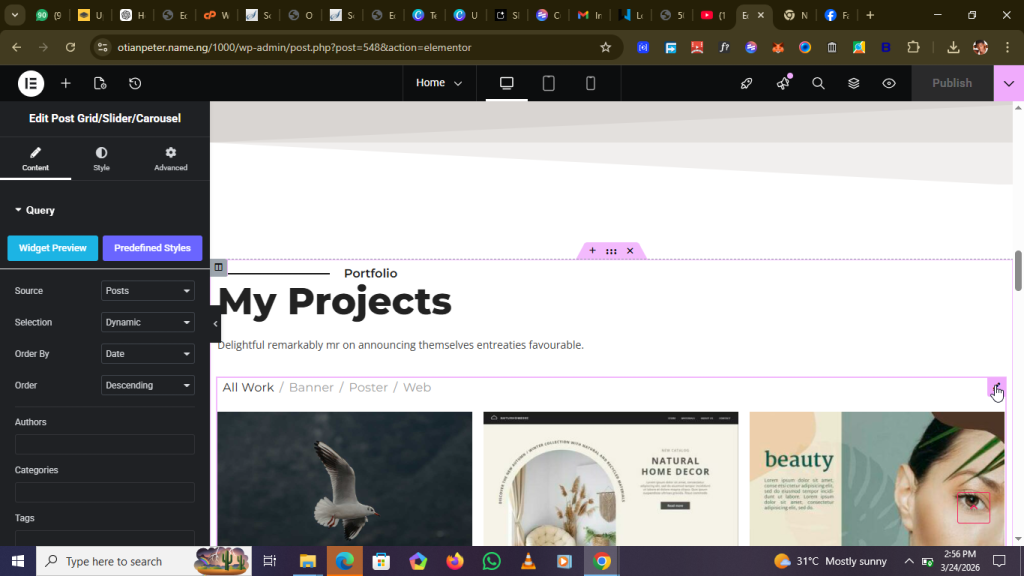
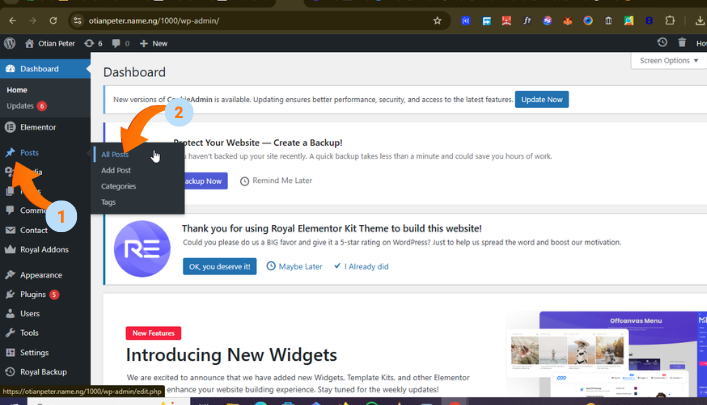
Step 1: Go to the post section on your wordpress dashboard. How to ge there from elementor page? Make sure you open your site on another tab e.g otianpeter.name.ng then select the dashboard Icon on the top left then select dashboard on the drop down.
Step 2: Hover over “Post” then select “all post”
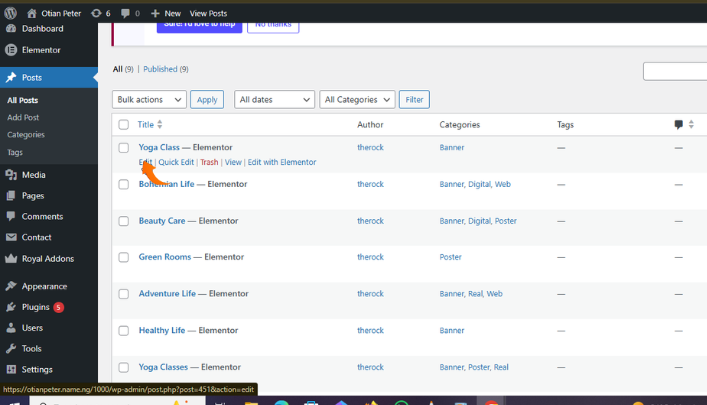
Step 3: Select the post you want to edit.
Step 4: Select the sidebar widget if it’s not visible. Then click on the image you want to change and replace it accordingly.
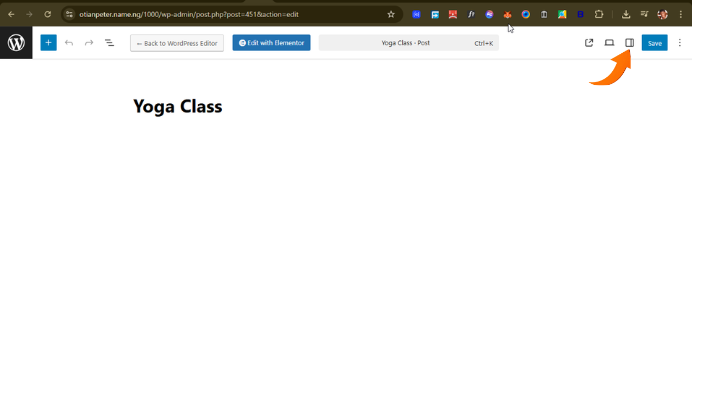
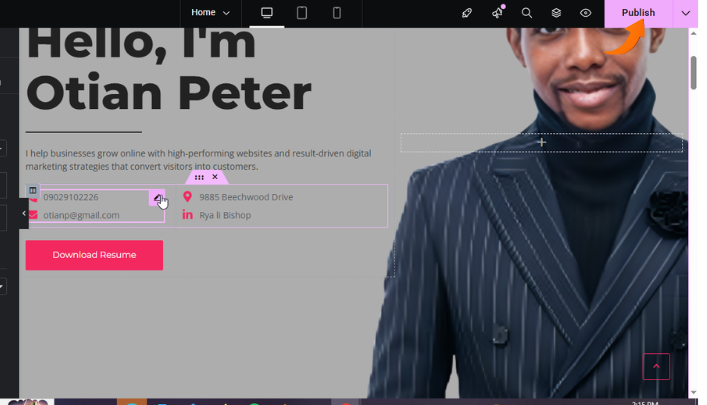
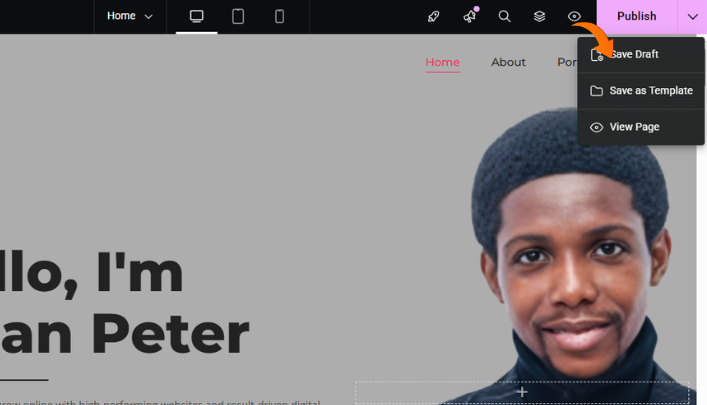
The Publish Button
After any changes on your website it is very important you save or click the publish button. the same button helps you save your changes so you can continue, while the publish button helps you publish your entire changes so any visitor on the site can view the changes. Make sure you click the publish button after your work is done otherwise no changes will be seen on the live page.
Congratulations
Congratulations, you’ve successfully finished editing the homepage! Make sure to apply the same principles to the other pages and update them one by one.
Conclusion
Learn elementor is all about practice, note that in this process you are going to get stuck at some point and confuse, its okay , it is part of the learning process. Understand that its all about practice and not head knowledge, you will need to apply all the given principles in this article. Make sure you click the publish button at the top right of elementor work space for your progress to get registered or you might just be wasting your time.